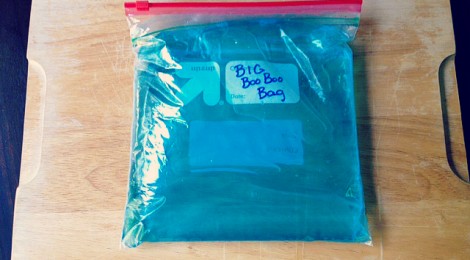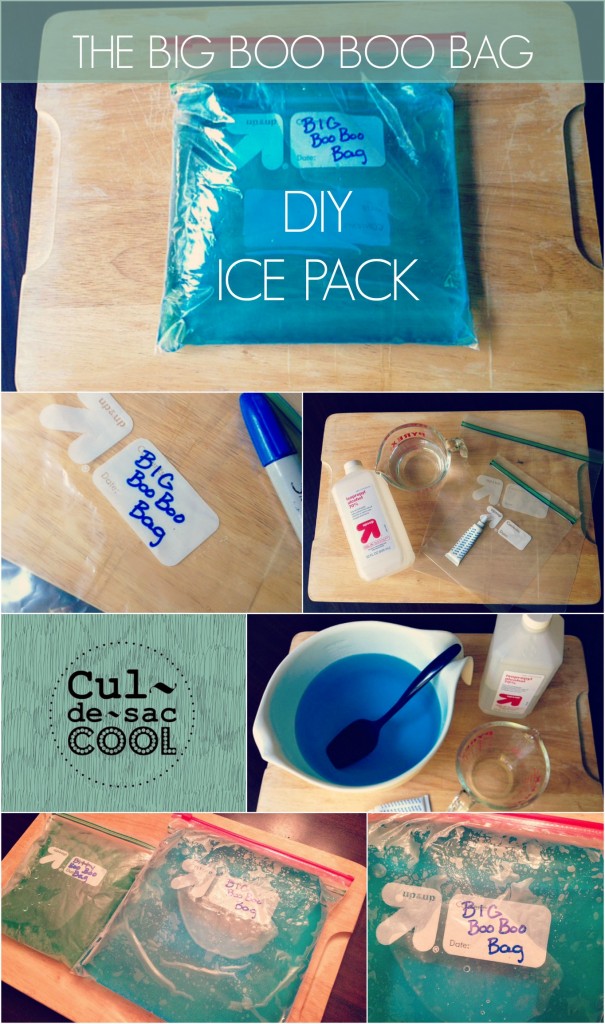
The Big Boo Boo Bag — DIY Ice Pack
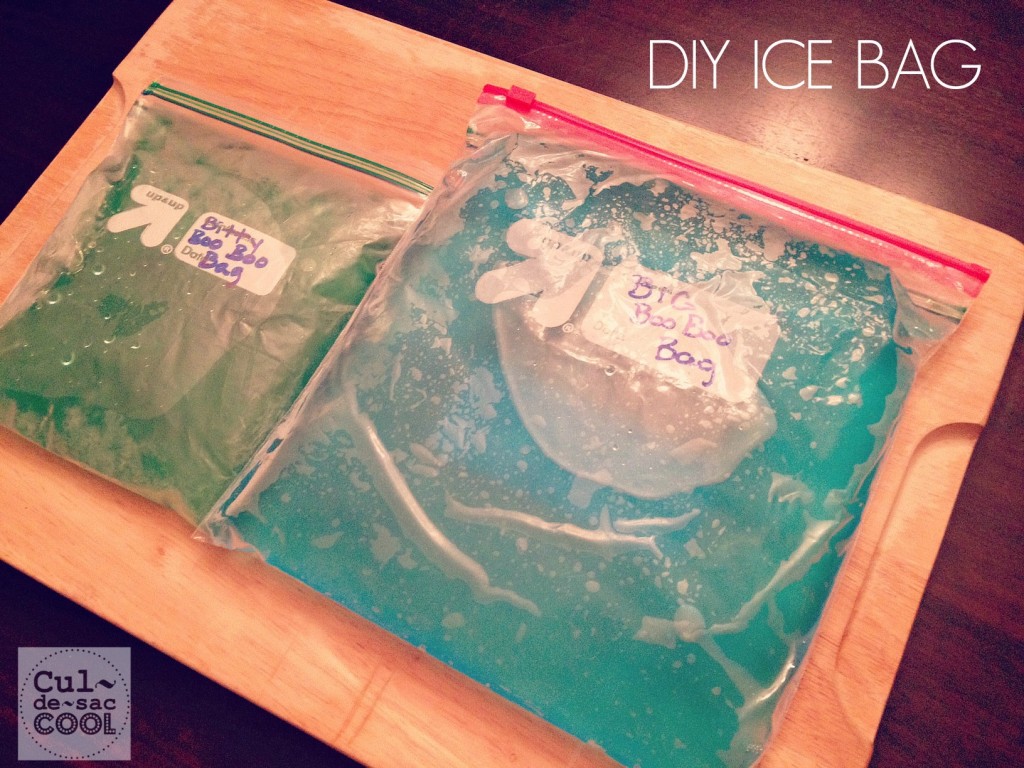
How do you know when soccer season has hit the household? When complaints of pulled muscles or soar hamstrings and heels start flying! Ice packs have always been a hot topic at our household, especially after my hubby’s soccer injury surgeries. We never have enough ice for water bottles to take to practice and then ice to fill up ice packs for after practice. A perfect solution is to make one of these DIY Ice Packs. I first saw this from Disdressed. It is a slushy, cold ice pack that molds around your injury. Perfect for frequent strains, bumps and bruises. To add some personality to my DIY Ice Pack (and to thoroughly embarrass my teenage sons) I thought it needed a name — The Big Boo Boo Bag. While I was at it, I made a smaller version, this one is called The Bitty Boo Boo Bag (perfect for my youngest son). Now I can’t wait to pull something so I can use it…NOT!
What you will need:
- Rubbing alcohol
- Water
- 2 one-gallon zip-lock bags (for the Big Boo Boo Bag)
- 2 quart zip-lock bags (for the Bitty Boo Boo Bad)
- Food coloring (optional)
Instructions:
- Add 2 cups of rubbing alcohol and 6 cups of water in a large bowl for The Big Boo Boo Bag. To make the smaller Bitty Boo Boo Bag, add 3/4 cups rubbing alcohol and 2 cups of water to a large bowl.
- Add several drops of food coloring and stir (optional).
- Over your sink, pour your mixture into a one-gallon zip-lock bag for the The Big Boo Boo Bag or a quart zip-lock bag for the Bitty Boo Boo Bag.
- DOUBLE BAG! Place your sealed ice pack bag inside another sealed ice pack bag. You do not want this to leak!!
- Label your bag with a permanent marker so no one confuses it with something edible.
- Freeze for 12-24 hours.
- Once cold, wrap in a towel and place on your injury for 20 minutes intervals. Never place ice pack directly on skin.
Note: Children must always be supervised when using. Not intended for small children.
Not feeling like making your own ice pack? Then check these out: Medical/Sports Ice Packs


