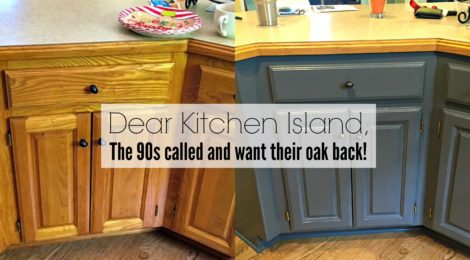
Dear Kitchen Island, the 90s Called and Want their Oak Back
For years now, I’ve wanted to remodel our kitchen. Well, I’ve finally started the process. First on the re-do list is the Kitchen Island! I wrote a letter to our kitchen island to break the news to her that things needed to change…
Dear Kitchen Island,
It’s not your fault you were born in the 90s. There was some other awesome things born in the 90s like, Beverly Hills 90210, grunge and those cool LA Gear light-up shoes. All those totally rad trends, sadly, have gone out of style and died. I hate to break it to you, Honey Oak Kitchen Island, but you too have gone WAY out of style. It’s time to join the modern times and cover that aging oak with a chic coat or two of chalk paint in Greystone. The kitchen cabinets behind you will be so jealous of your new make-over. Enjoy being the center of attention again. You deserve it. Welcome to 2016!
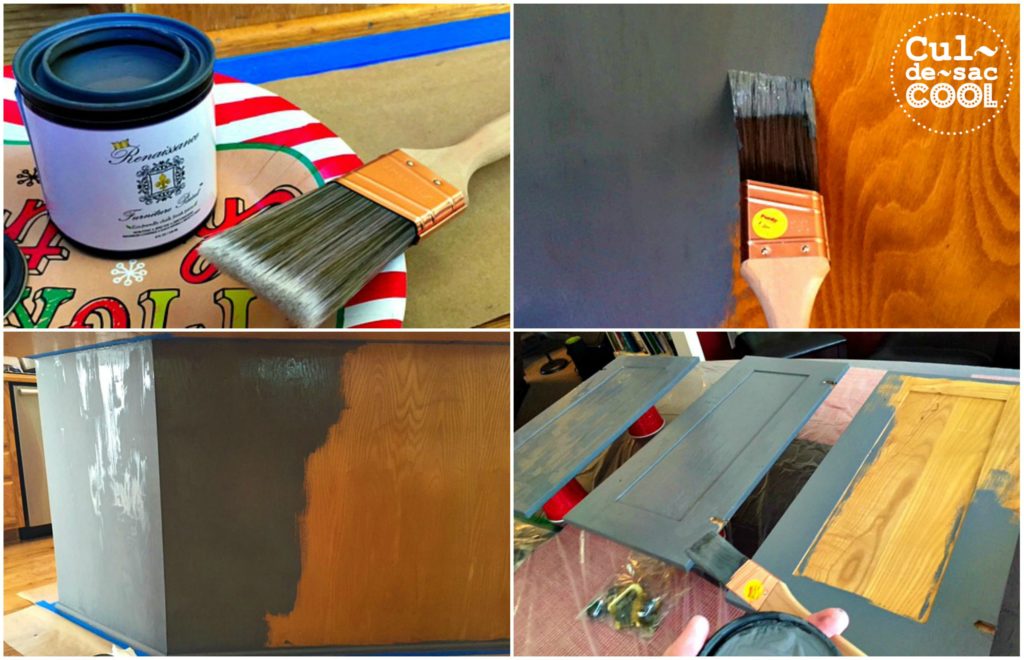
The key to this great make-over is chalk paint. I used Renaissance Chalk Furniture & Cabinet Paint in Greystone that I got off Amazon. I didn’t even have to go to the store to buy my paint. It came to me!!!
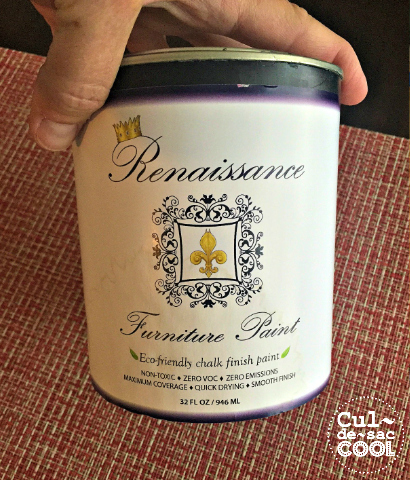
Once my island was clean and dry, I used masking paper as drop clothes and taped off what I didn’t want to get painted. I took off the cabinet doors, pulled out the drawers and laid them on the dinning room table. I took off all the hard wear putting them in baggies and writing which cabinet doors they belonged to. I then painted 2 coats of the chalk paint on everything. Once dry, I followed up with 2 coats of clear polyurethane. Below you will find my step-by-step process. Yes, it is easy, but is still time-consuming. I took several weeks to finish because I did a little here and there, much to my family’s chagrin :). Good luck!
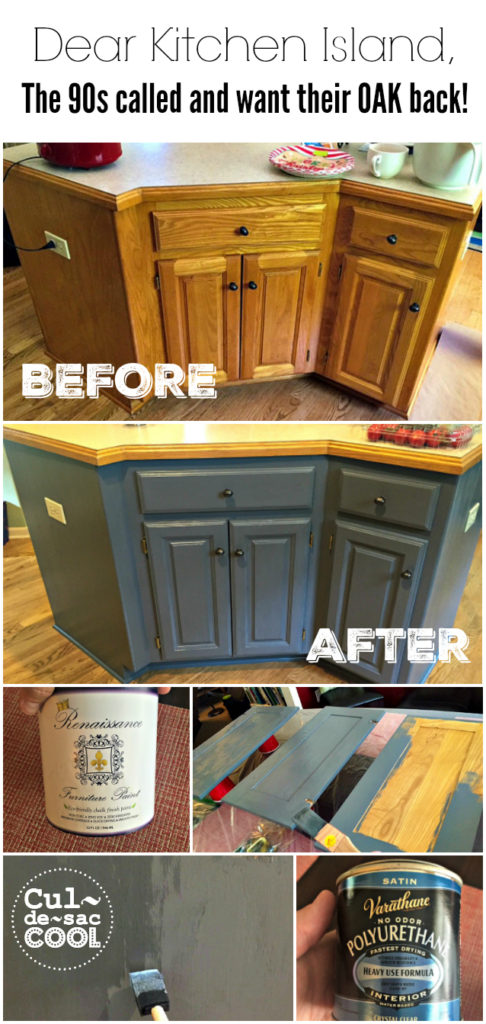
What you will need:
- Renaissance Chalk Furniture & Cabinet Paint Qt – Non Toxic, Eco-Friendly, Superior Coverage – Greystone (32oz)
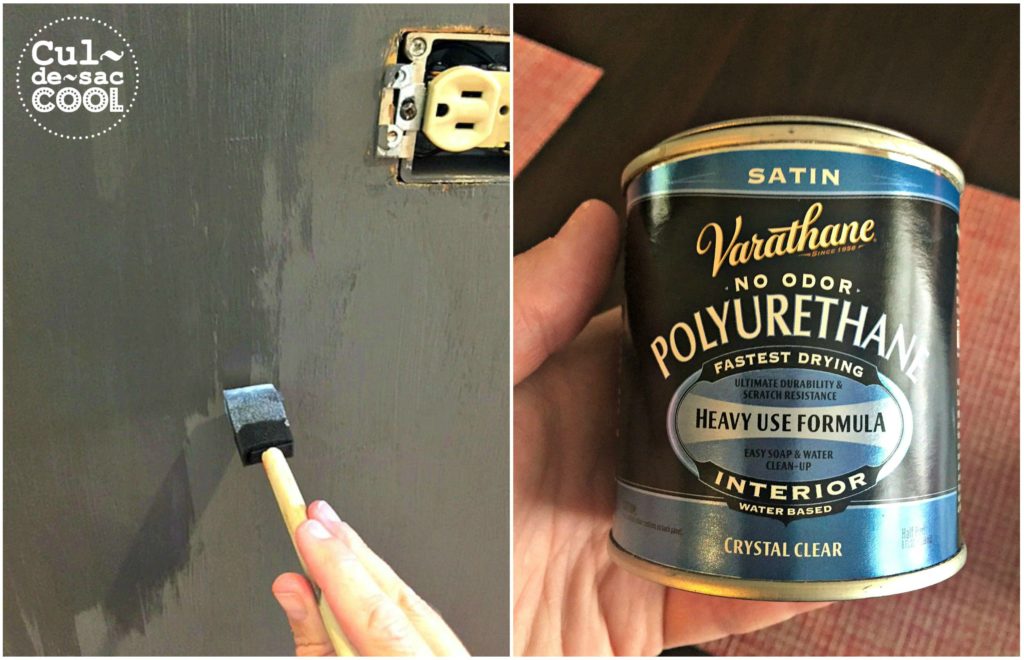
- Rust-Oleum Varathane 1/2-Pint Interior Crystal Clear Water-Based Polyurethane, Water-Based Satin Finish
- PURDY Brush Kit, 3-Piece
- General Purpose Masking Paper
- Painters tape
- Plastic drop cloth
- Sponge brush
Instructions:
1. Prep, prep, prep, prep, prep. Clean your cabinets with warm water and Dawn dish soap, or any another cleaner that you normally use. I used my Dawn/water combo with a sponge that had a scrubby side so I could really get any leftover food or grease off. I also used disinfecting wipes here and there.
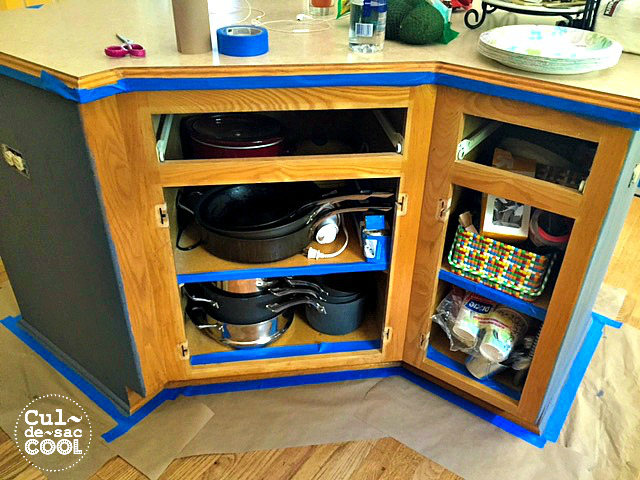
2. Once your cabinets are clean, layout your masking paper and tape it down with painters tape to protect your floors. Make sure the tape butts right up to the bottom of the cabinet. Tape off anything you don’t want painted. I didn’t paint the inside of my cabinet box, just the outside.
3. Take off all your doors and pull out your drawers. I put a plastic tarp over my dining room table and propped my doors and drawers on plastic cups to elevate them.
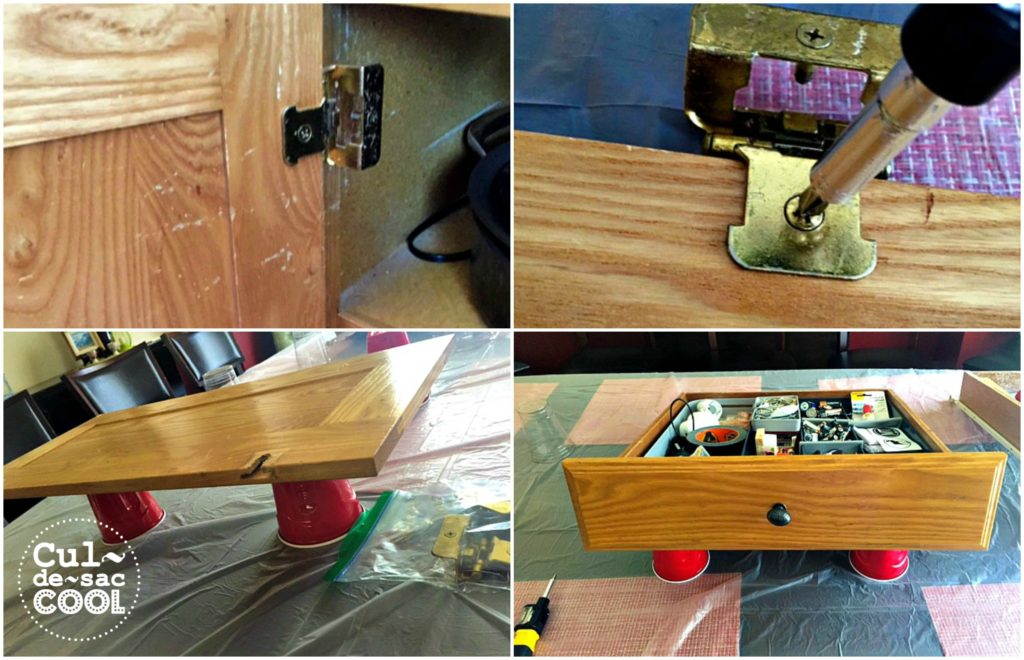
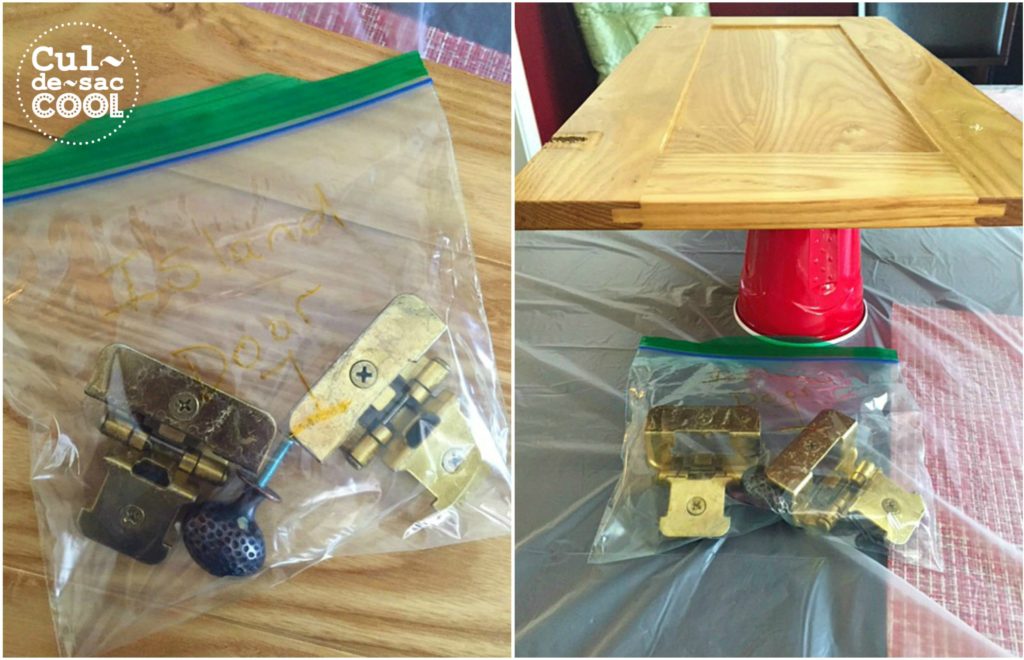
4. Put all hinges and hard wear that you take off the doors and drawers in a baggie for each one marked with which door or drawer they belong too. I then put the baggie underneath each door/drawer.
5. Time to paint! Make sure you don’t use too much paint especially on the doors. You want the paint thin enough to cover, but not clump or pool, I learned this the hard way. For the doors, I painted the inside side first (just one coat), then flipped the doors over once dry and painted the front. Paint one coat over everything, drawers, door fronts and island cabinet box. Let dry at least 30 minutes to an hour and do a second coat over everything. You are more than welcome to do a third coat if you feel like you need it. I only did 2 coats.
6. Let your paint dry overnight and then start applying your polyurethane. Make sure you read the directions because if you wait over 24 hours to put on a second coat, you have to sand lightly before doing it. I did not want to have to sand anything, so I waiting an hour before applying my second coat. The polyurethane goes on really easy. I ended up using a sponge brush to apply the polyurethane. I did two coats, you can do more if you like.
7. Once everything is dry, start putting your hard ware back on, hang your doors and insert your drawers and you are D • O • N • E! DONE!
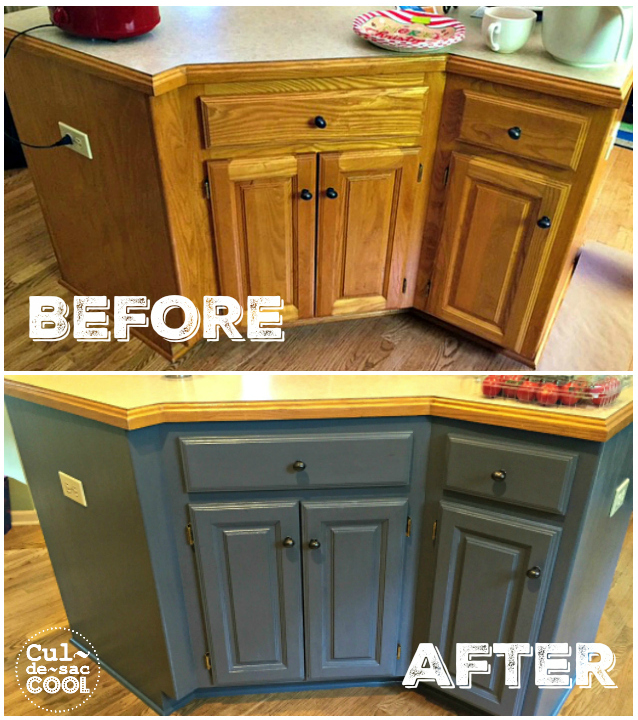
I love how my island looks. From 90s drab to modern-day fab! Now I need to start working on my back kitchen cabinets and then tackle what the heck to do with my countertops! Does anyone have any great countertop advice? If so, please leave a comment!!
Want to read more of my Loving My House Again series? Look no further!!
