DIY Funny Face Photo Coasters
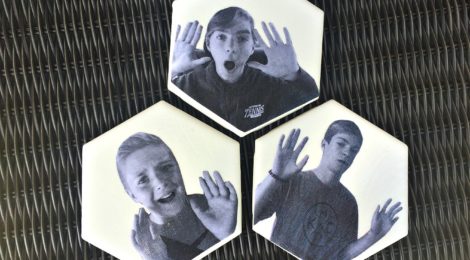
When I told my boys I was making a Mother’s Day gift for their Granny D and I needed to take their pictures, all three of them groaned, not because they don’t love their Granny D, but because they hate getting their pictures taken. When I told them I needed to take a picture of them acting like they were being squished by a giant glass, they totally perked up and agreed to do it. Score one for me!
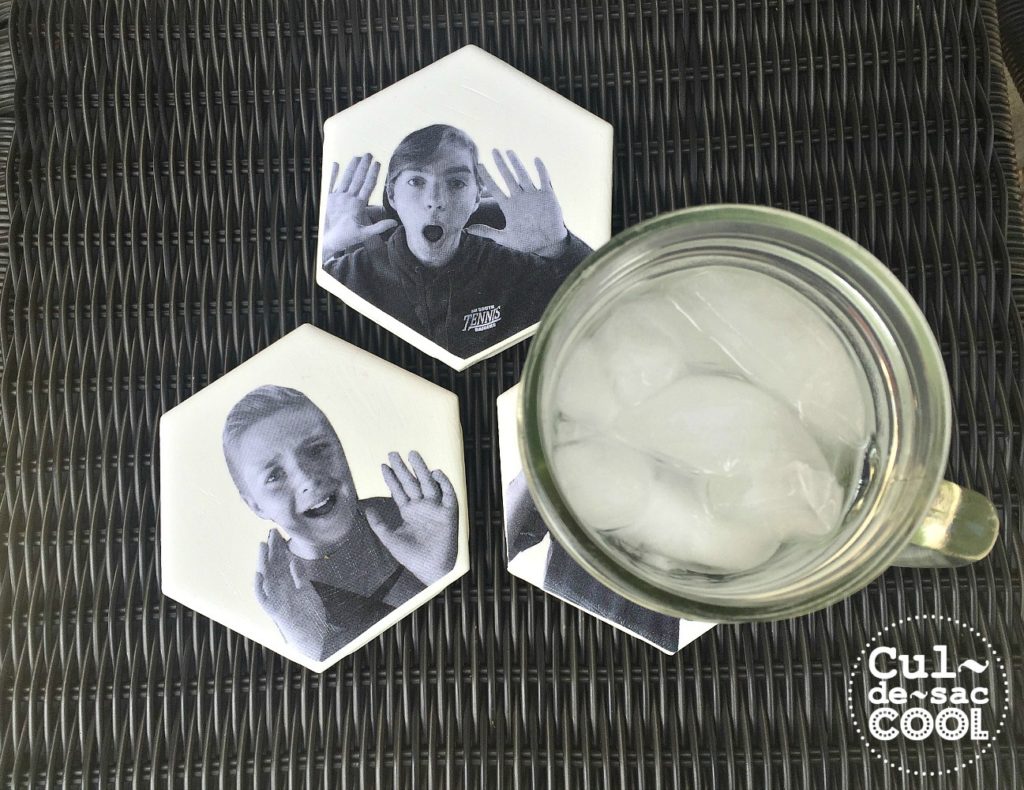
The main purpose of a coaster is to protect your table from your wet drink, but I think the main purpose of these coasters is to make people smile. Did it work?
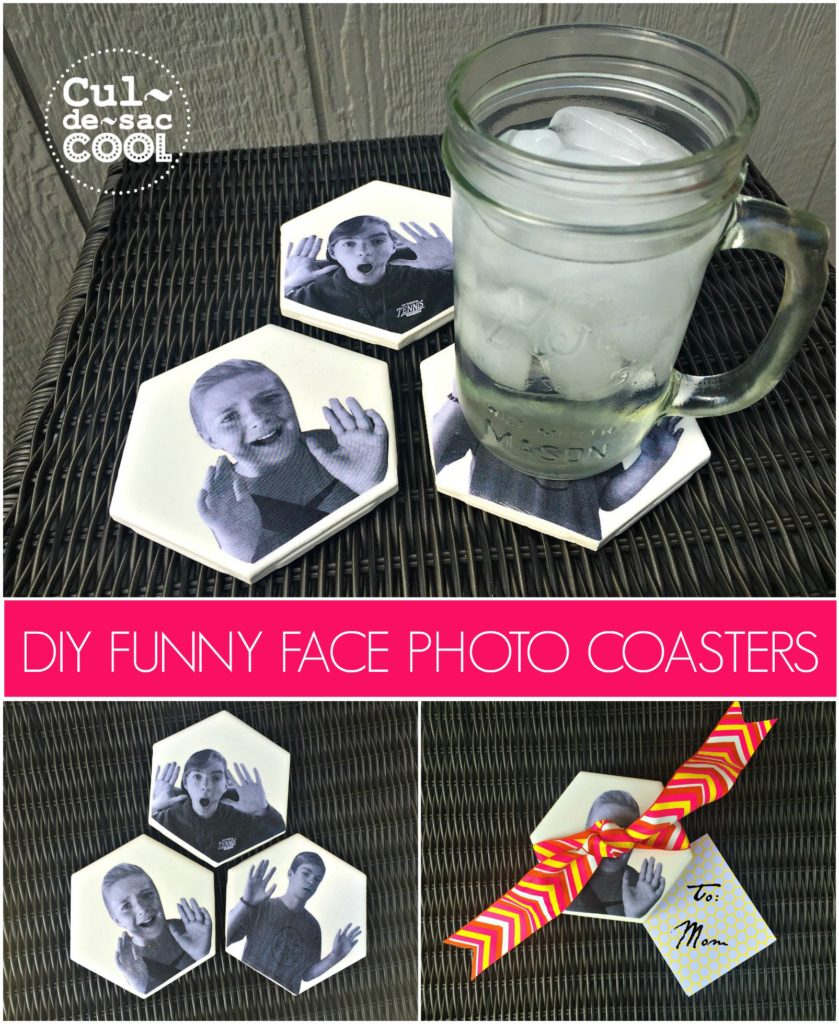
Now, you don’t have to go with my smooshed family theme, you can use funny face pics, super up-close pics or totally sweets pics. It’s up to you! I’m sure whomever is going to receive these one-of-a-kind coasters will love them. These make a great gift for Mother’s Day, Father’s Day, birthdays, Grandparent’s Day, Valentine’s Day, teacher gifts or just to cheer someone up. Enjoy!
What you will need:
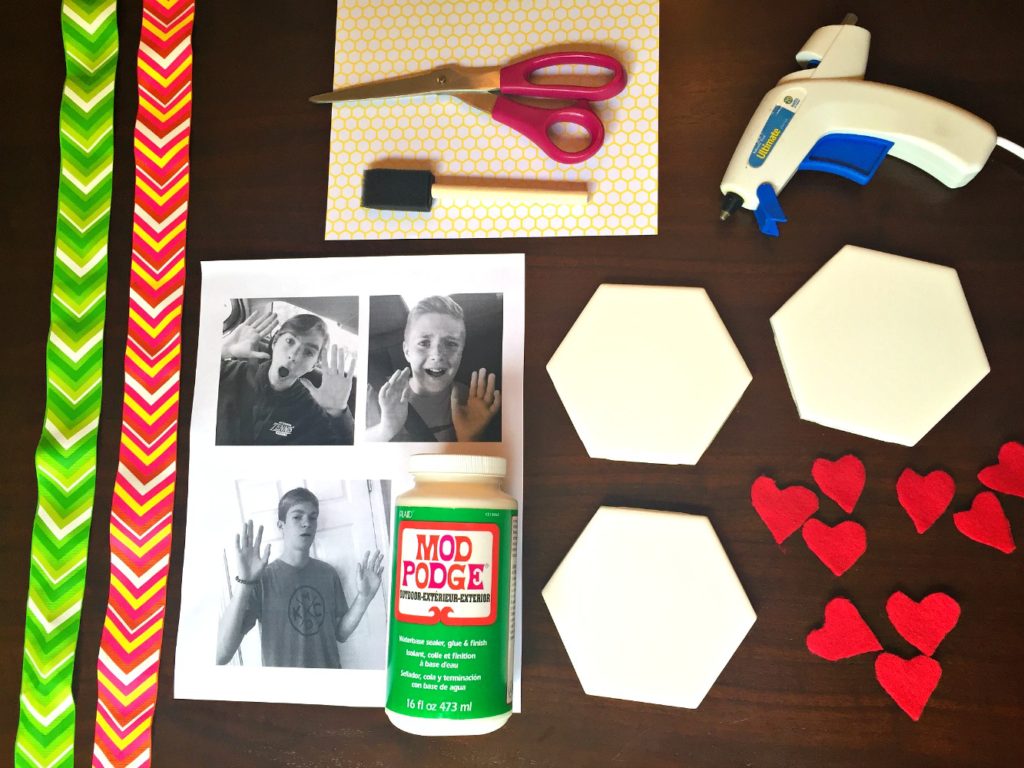
- White tiles
(mine were $ 0.45 each from Home Depot!)
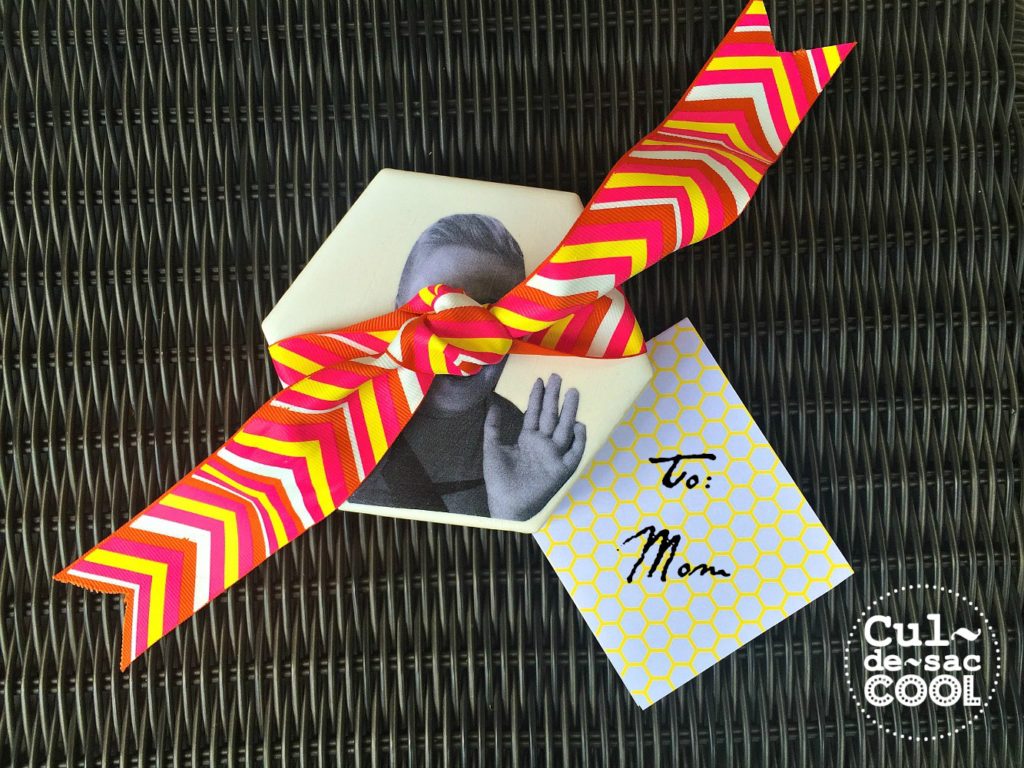
- Mod Podge Glue, Outdoor
- Sponge brush
- Pictures or printouts of funny faces
- Felt (any color you want)
- Glue gun
- Scissors
- Ribbon
- Pretty paper to make a tag
Instructions:
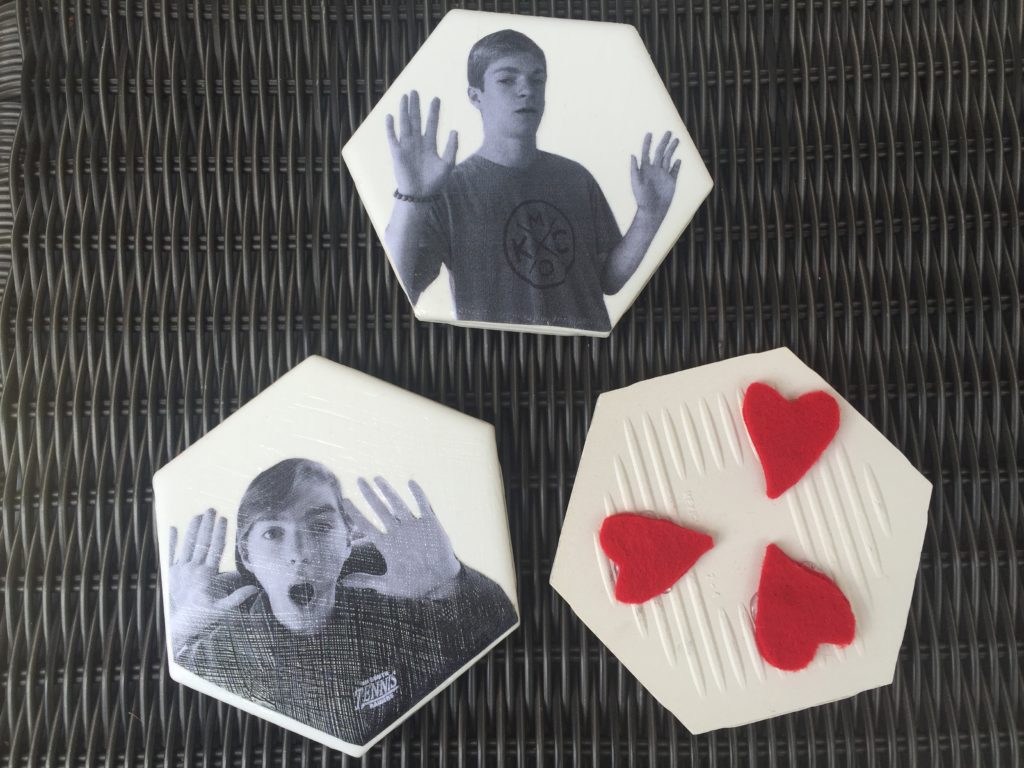
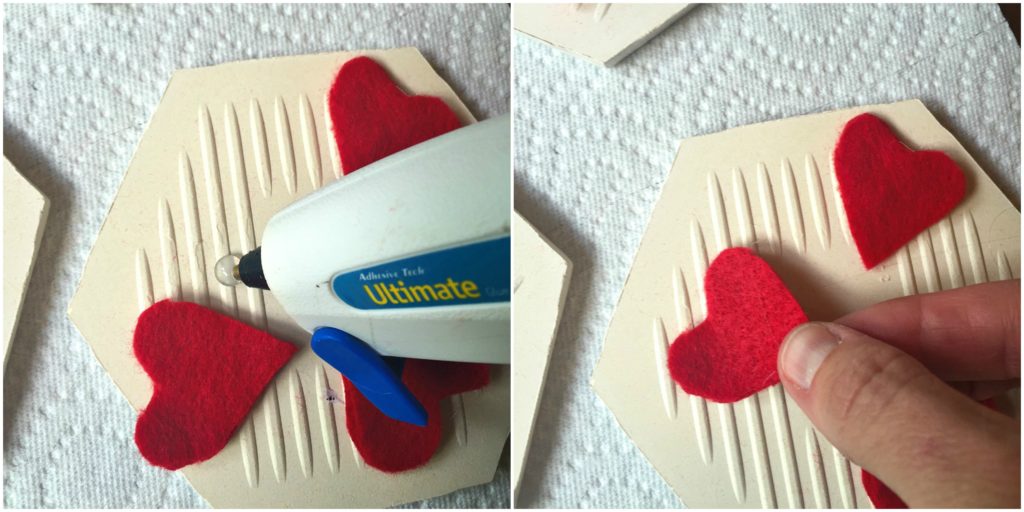
1. Cut out small felt shapes for the back of your coasters. These are so the coasters don’t scratch any surfaces when used. I used 3 heart-shaped cut-outs for each of my coasters. My felt was thin so I doubled it up when I cut my hearts out to make each heart thicker. I then hot glued the hearts to the back of each coaster.
2. Cut out your photos or printouts that you are using. I just printed some photos off on my laser printer at home.
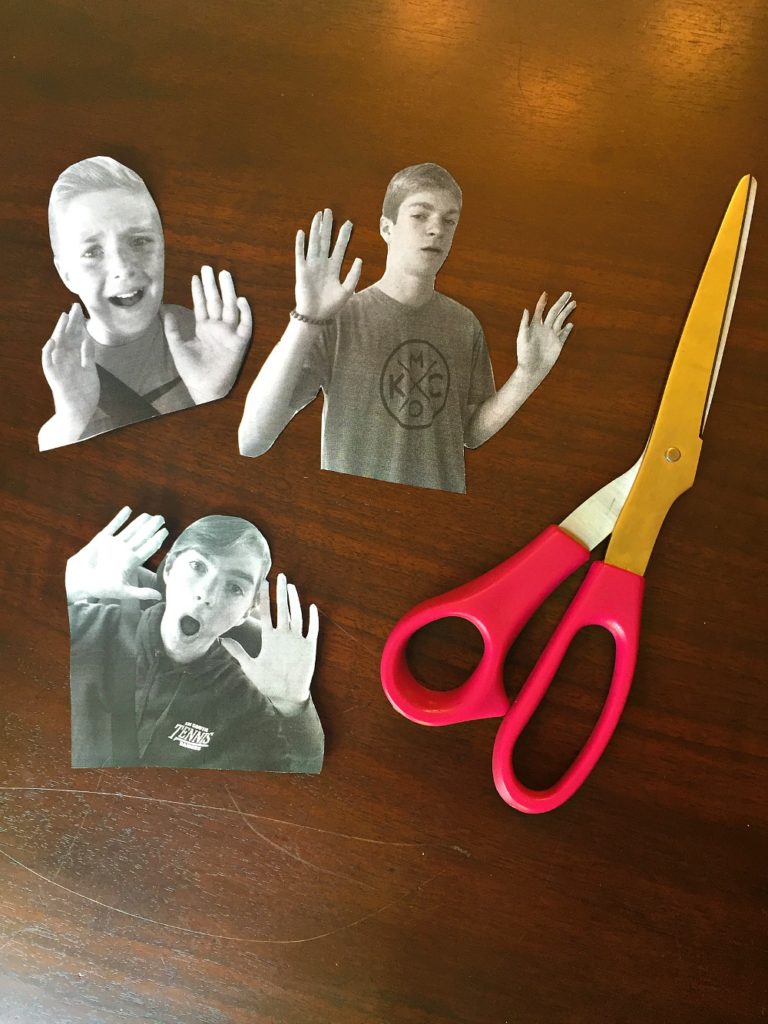
3. Lay the photos out on your tiles and trim them to fit.
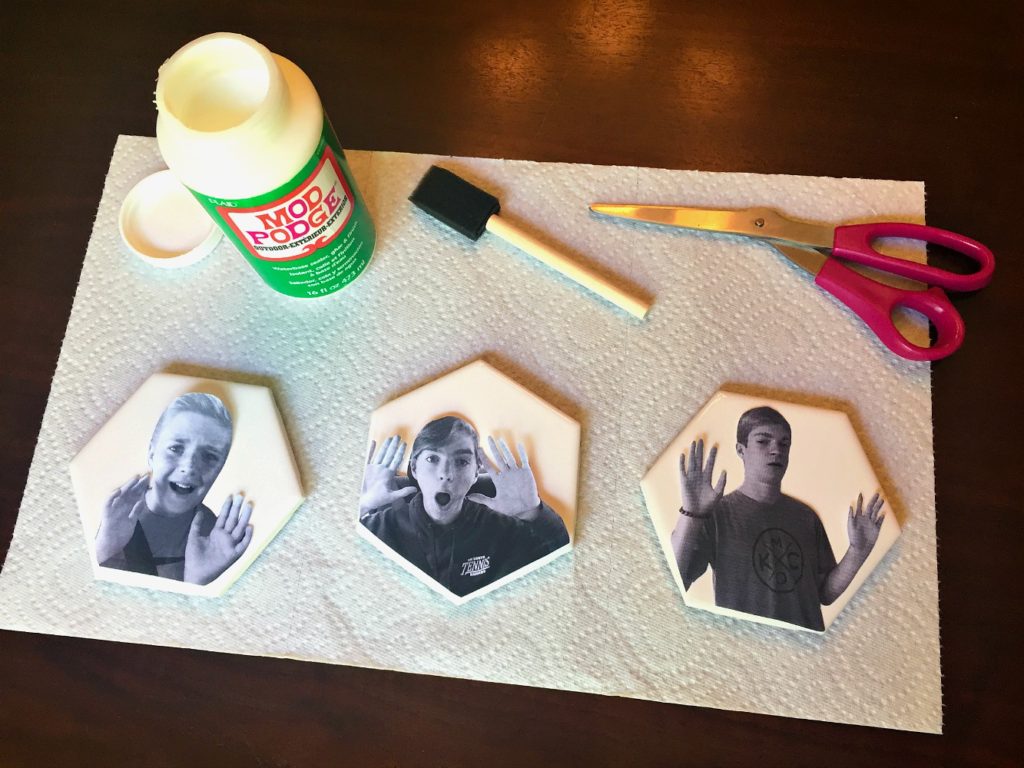
4. Set your photos aside. Working on one tile at a time, paint a layer of glue on top of your tile then place your picture back on it. Continue with the other tiles.
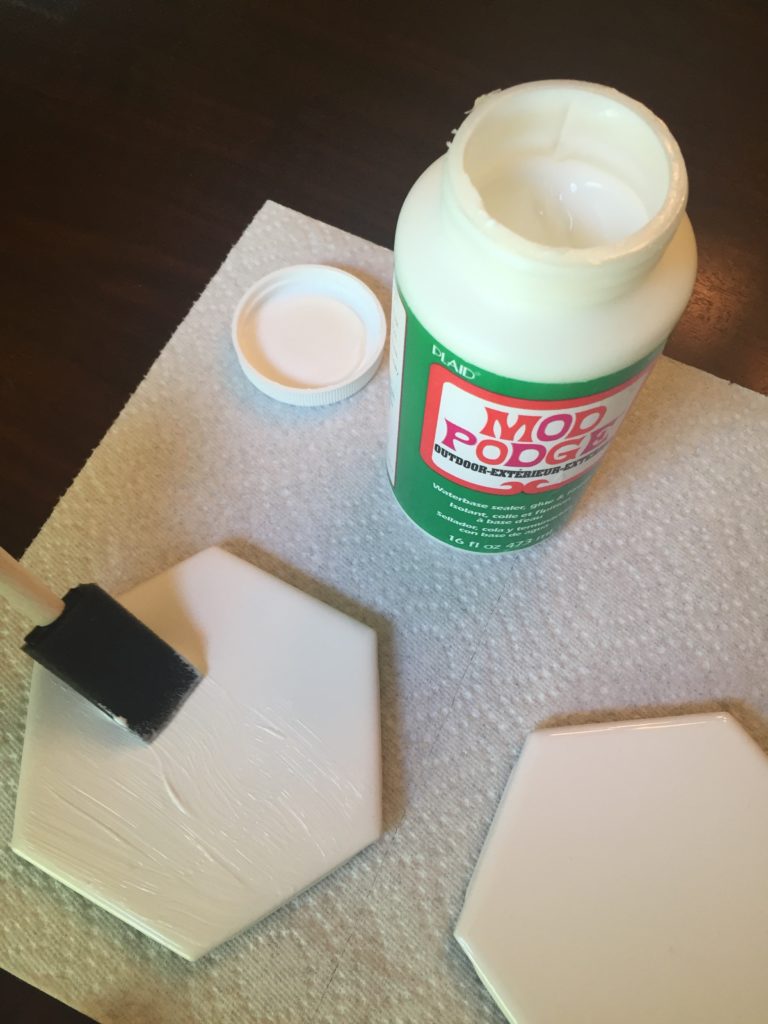
5. Once your photos are placed, paint 2-3 coats of glue over each tile, waiting 15-20 minutes between each coat.
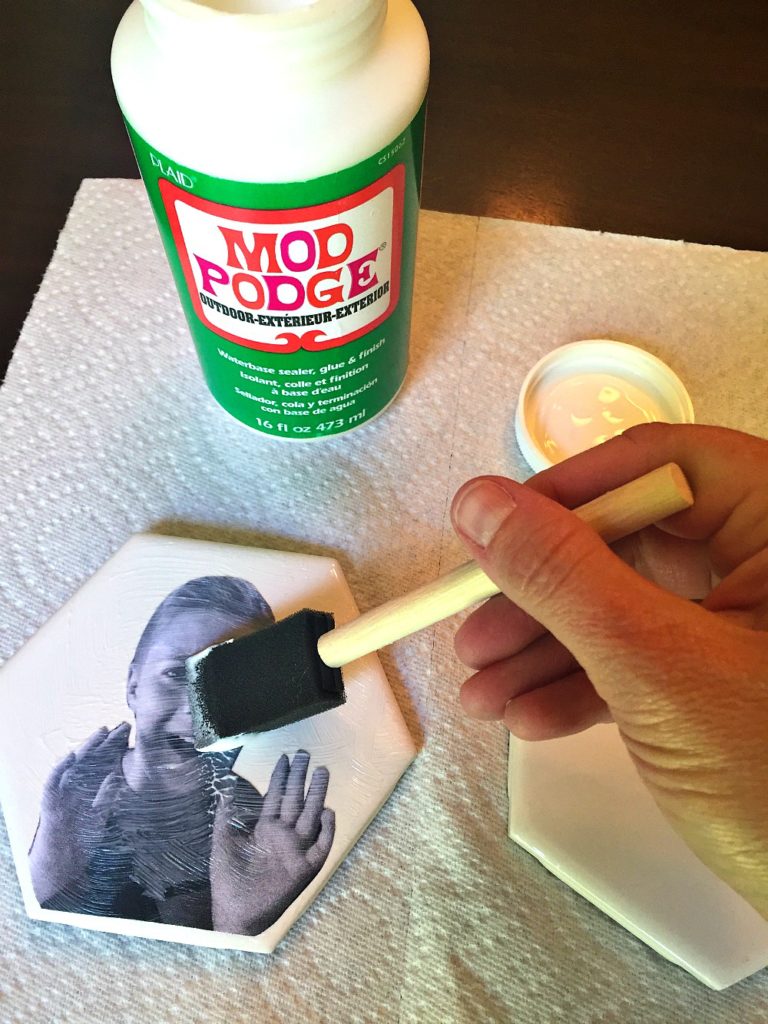
6. Set aside and dry for up to 72 hours before using or gifting.
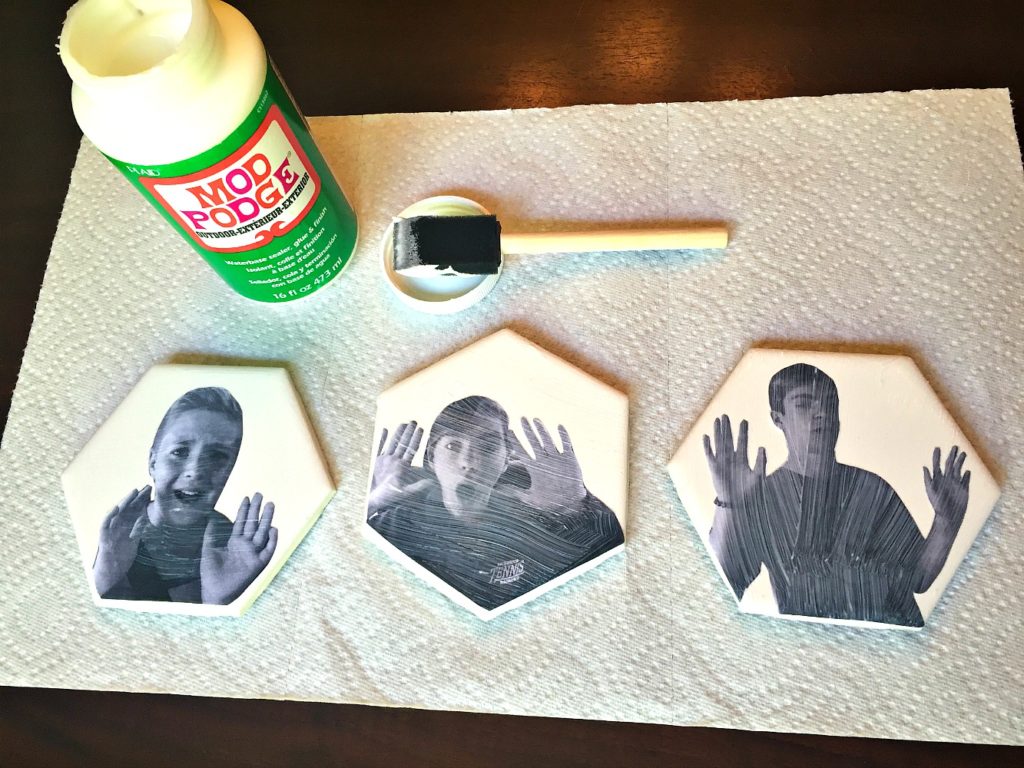
7. Once dry, stack your tiles and then tie them with a pretty ribbon and tag. Happy gifting!!
