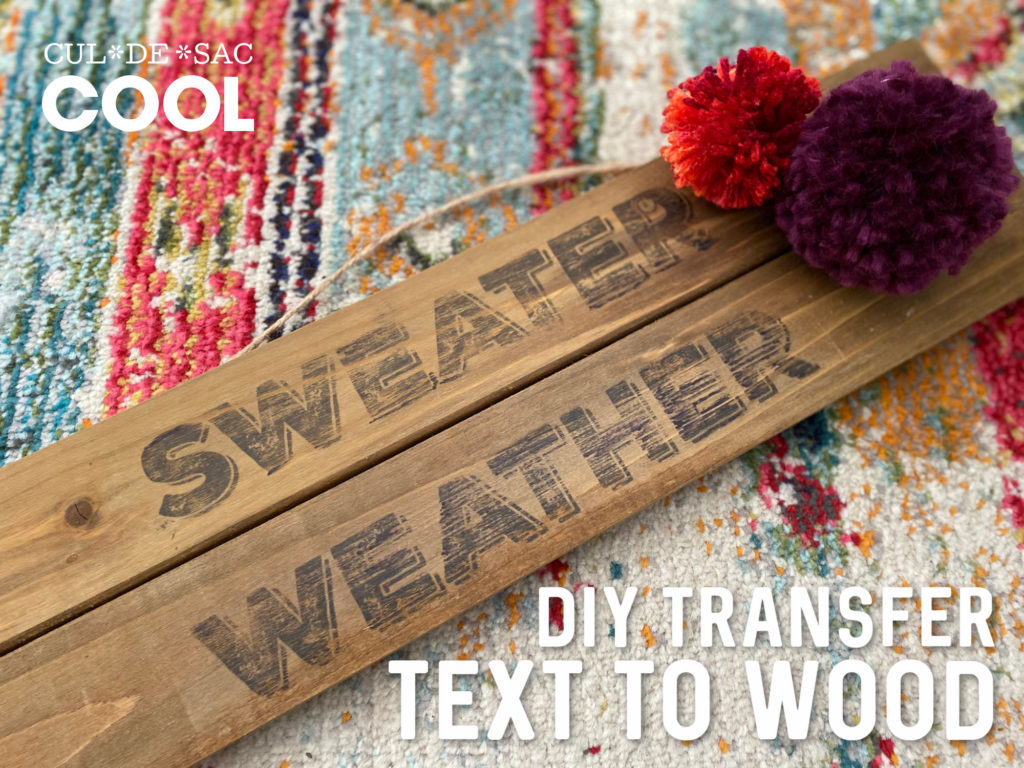
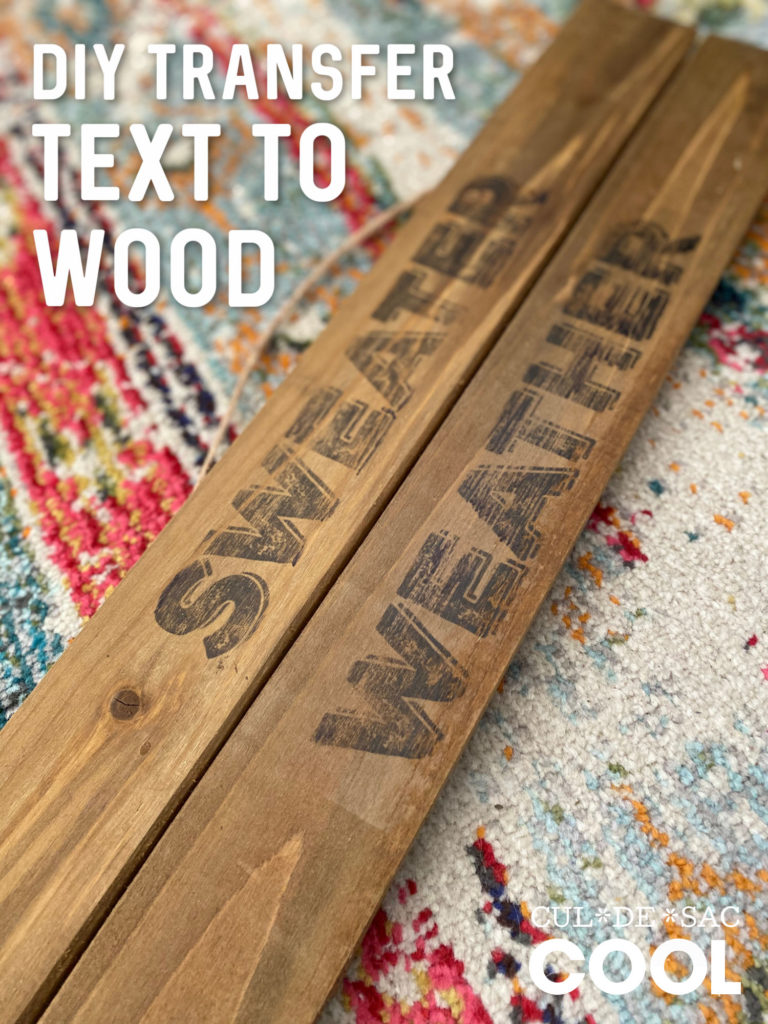
DIY Transfer Text to Wood
Most of you know that I love arts and crafts, but they can’t be too difficult, because I’m kind of lazy. I’ve discovered a cool, fairly easy trick to transfer text to wood that I wanted share with you. Game changer!!
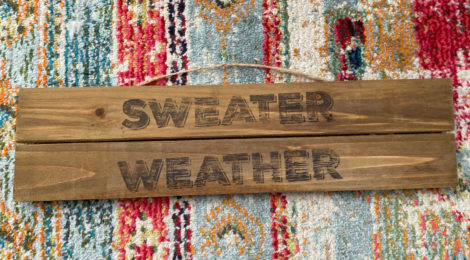
I’m in the process of making a Cozy-Fall front door sign. This week I will be posting the easy to follow steps. Make sure you check back Friday to see the finished product! The first step to making this masterpiece is to transfer my text onto my wood plaque. What says Cozy-Fall more than the saying, “Sweater Weather!” If you would like to following along and make your own Sweater Weather sign, just print the printable below. If you want to make your own sign, make sure your print your text reversed or mirrored on a laser printer.
Good luck and happy sign making!!
What you will need:
- Wood plaque
- Reversed text printed on a laser printer
- Laser printer
- Tape
- Iron
Instructions:
1. Download and print on a laser printer this 11×8.5 JPEG file (click on image and save to your computer), or print your own reversed text making sure it will fit on your wood plaque.

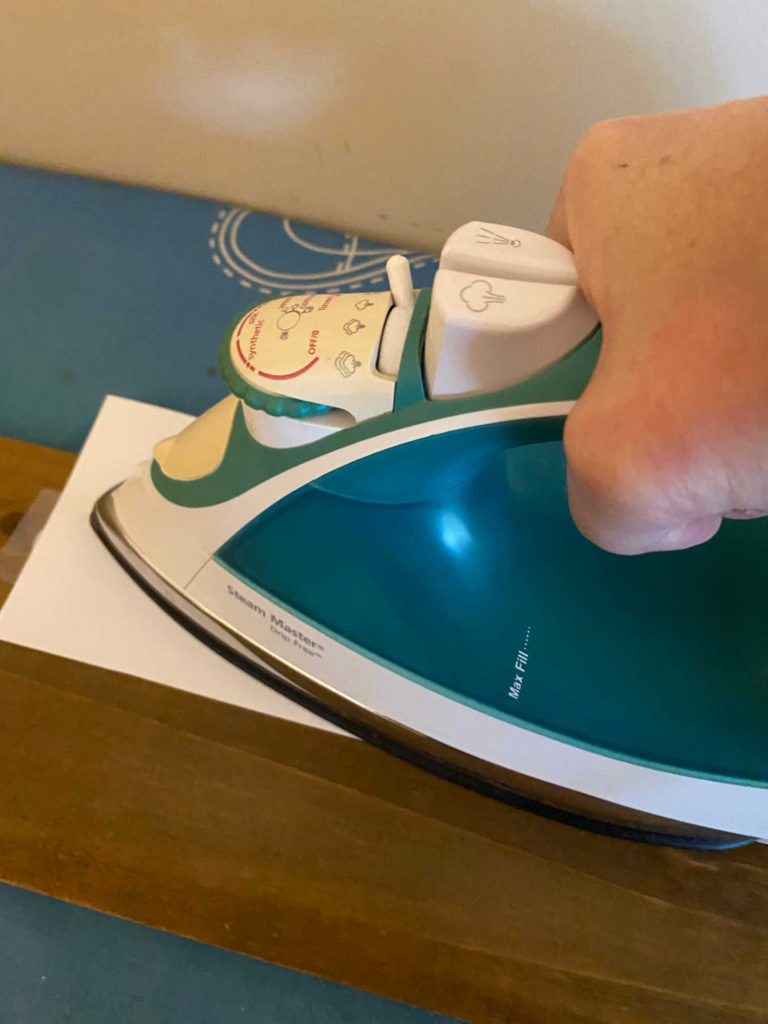
2. Heat up your iron on the highest setting without steam.
3. Next, line up your text facing down on your piece of wood and tape the ends down.
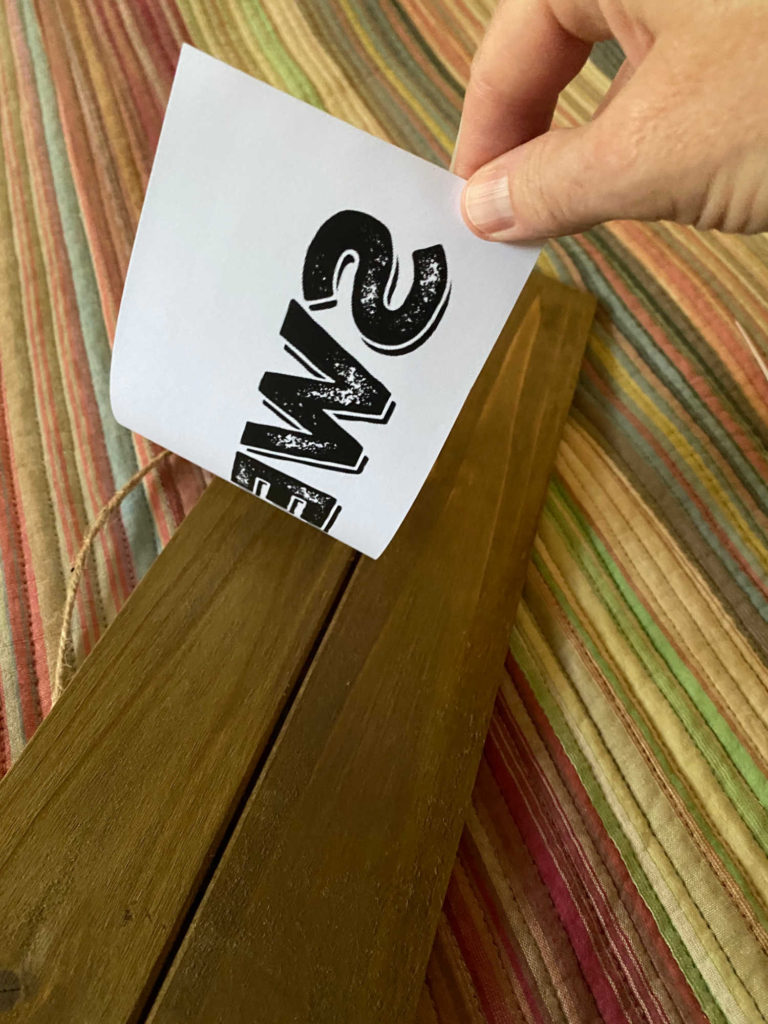
4. Start running the iron over your paper in gentle sweeps, firmly pushing down and not leaving the iron too long in one place.
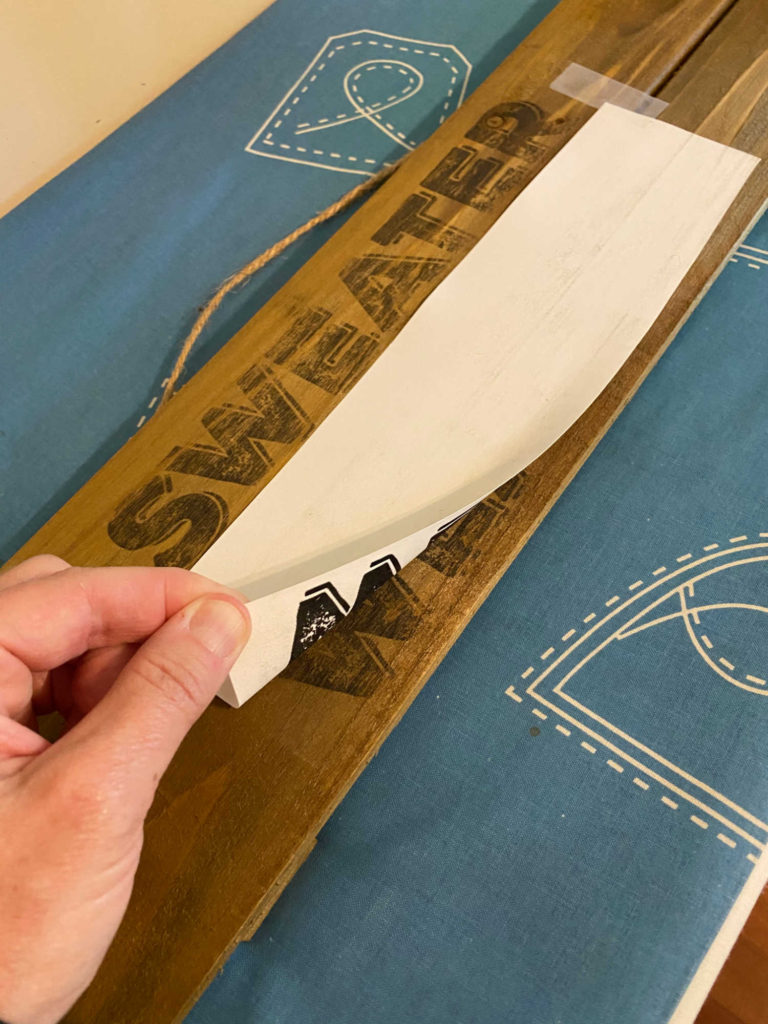
5. Let cool and pull up one end to check on your progress. You might have to lay it back down and iron some more. Note: The transfer won’t be solid but more weathered looking.
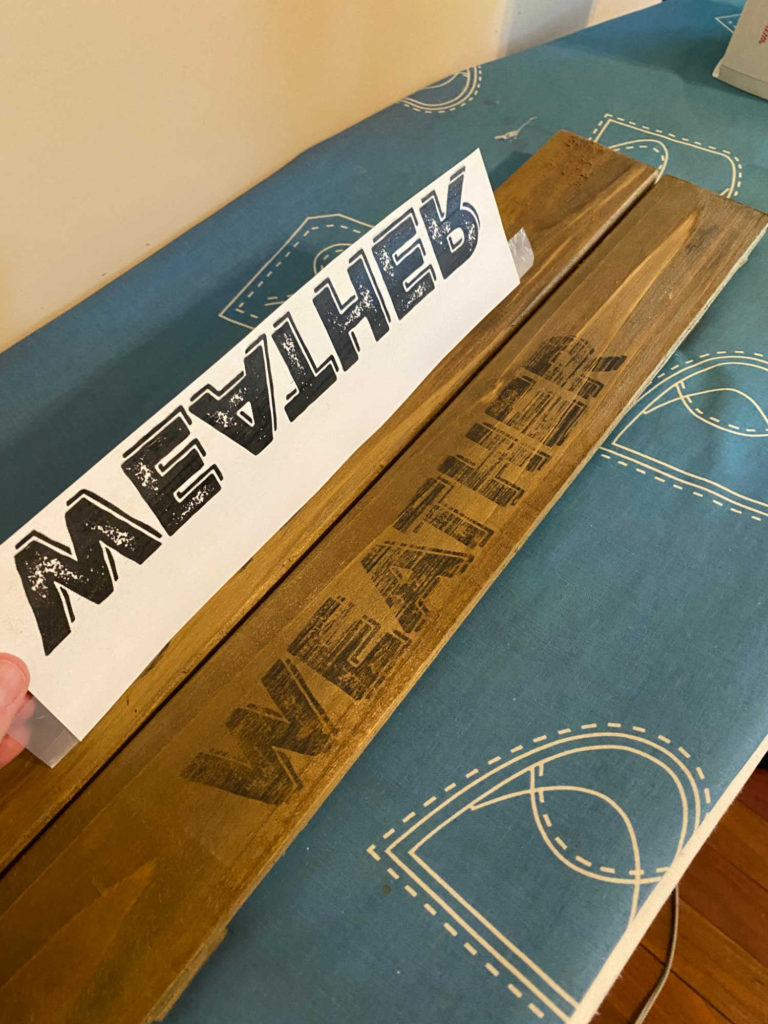
6. Here is a trick I used if some of the transfer is too light, just grab a black permanent marker and add some ink where needed. Keep a light hand though.
There you have an adorable handmade sign and it wasn’t too painful. Yay!! Be sure to check back for my finished Sweater Weather Sign project later this week. Happy crafting!!