DIY Photo Elf Pine Cone Ornament
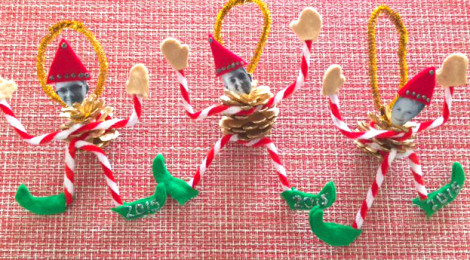
For the past 16 years I’ve been making photo ornaments for my kids and their cousins. I love pine cones and wanted to incorporate them into my ornament somehow. This is what I came up with, a DIY Photo Elf Pine Cone Ornament. I think they turned out adorable, not to mention hilarious! Enjoy!!
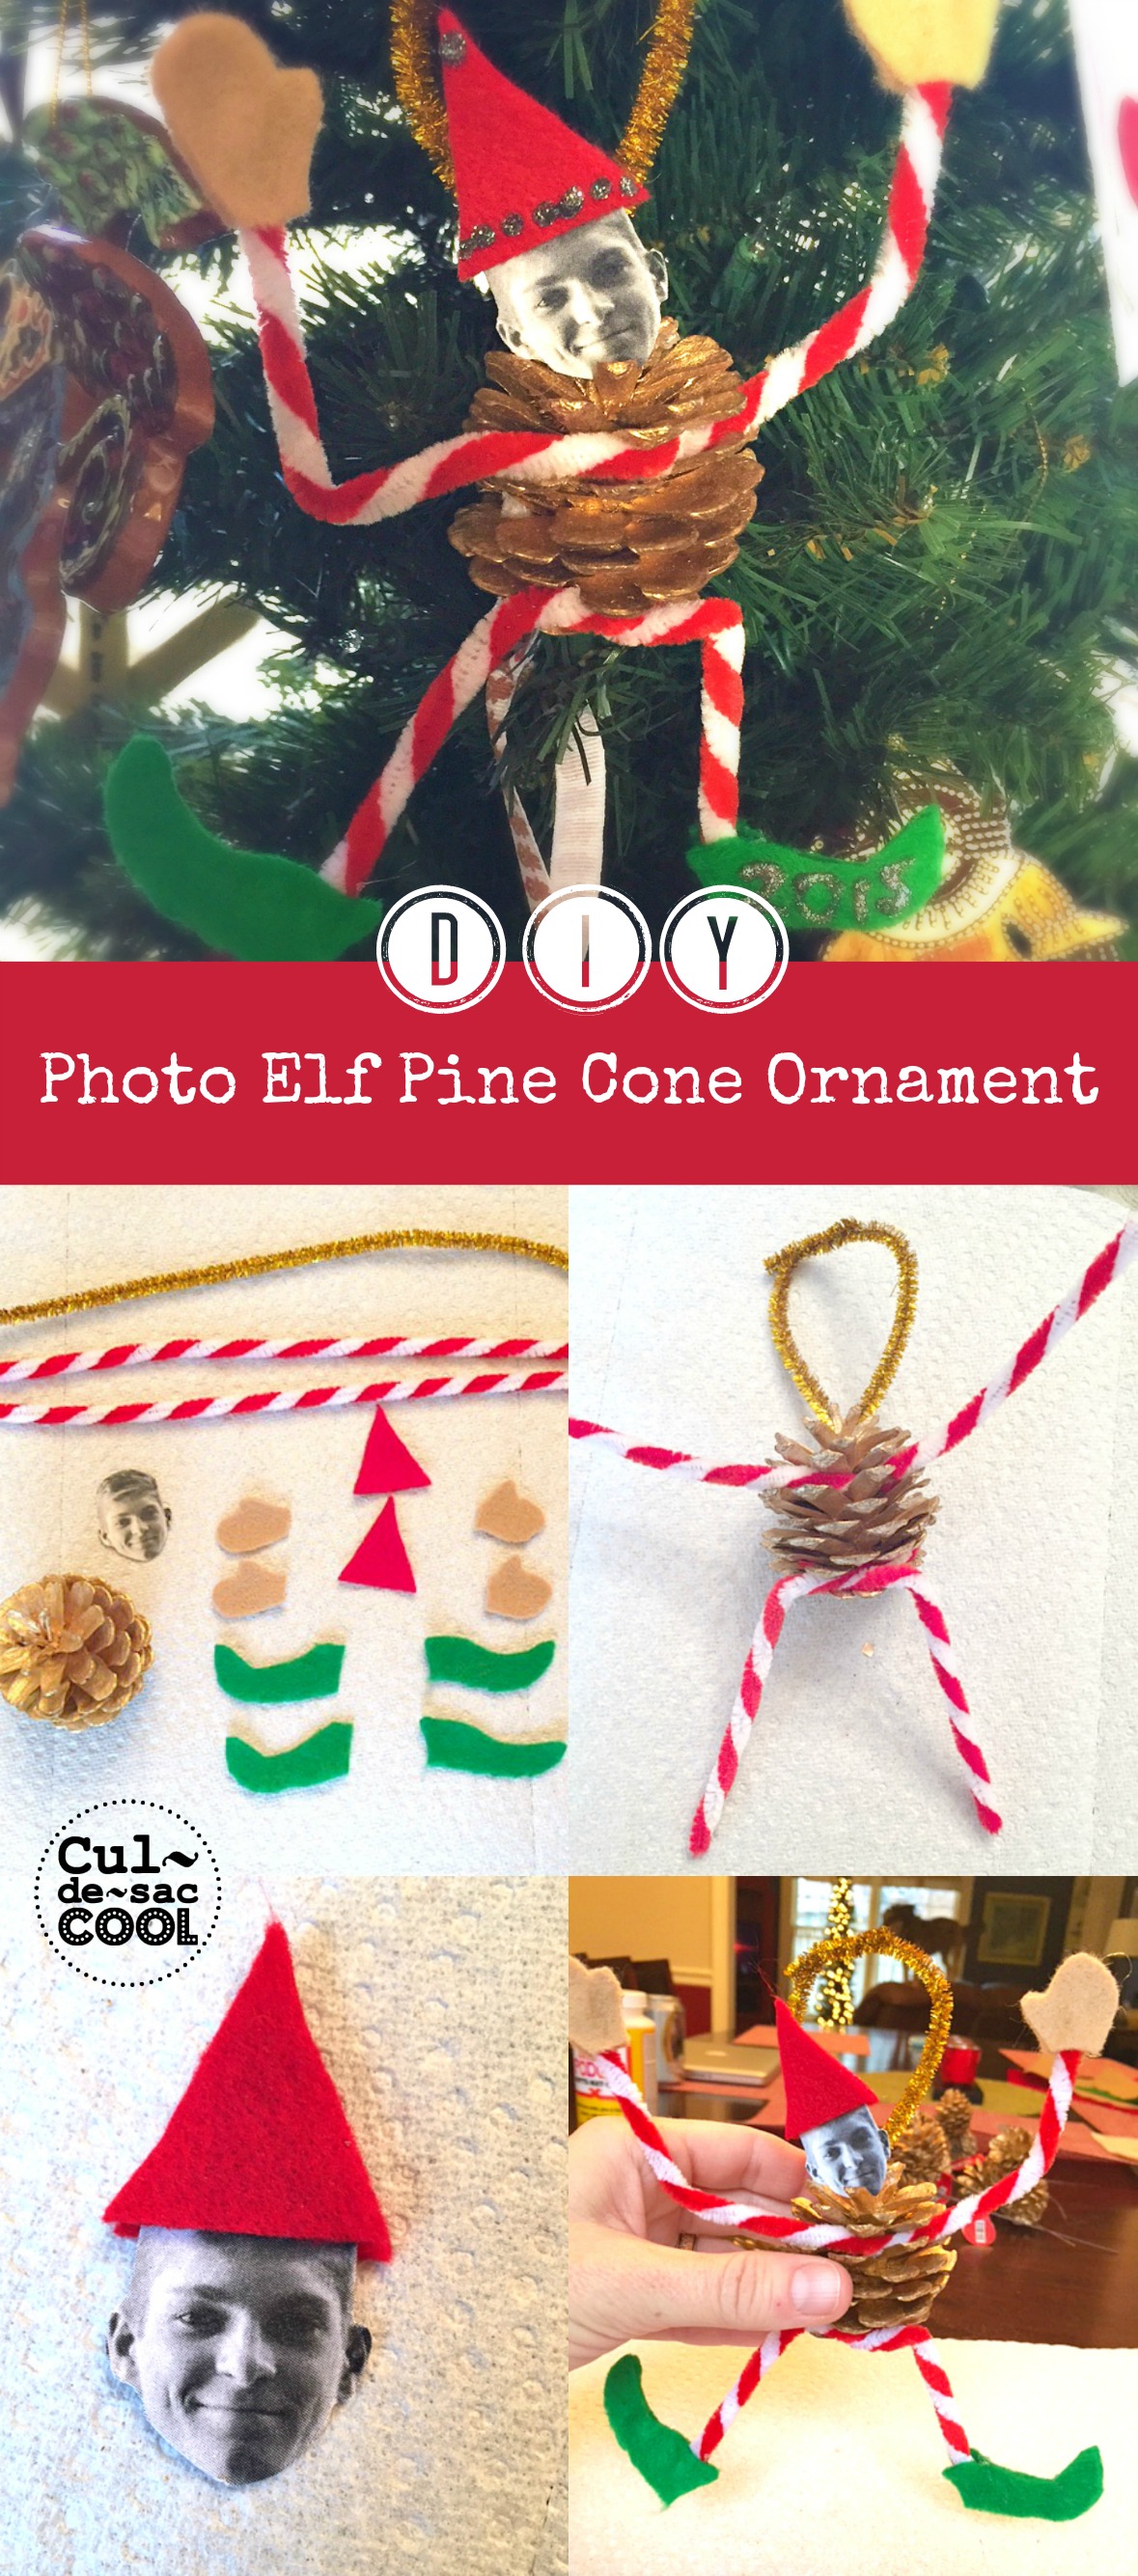
What you will need:
- Photo
- Scissors
- Pine cones
(I bought already painted gold ones)
- Pipe cleaners (I used one gold pipe cleaner
for the hanger and two red and white striped
ones for the arms and legs)
- Red craft felt
- Green craft felt
- Tan craft felt
- Glitter fabric paint
- Hot glue gun with glue sticks
Instructions:
1. Print your picture, or have photos printed at a photo center, of the person you want to make the elf. Cut the head out of the photo and make sure the head is at least 1-1.5 inches around. You don’t want the head too big for your pine cone. I printed mine at home on my laser printer on card stock. If you do print at home on card stock, you may want to add a couple of coats of decoupage glue to the tops of the prints to help protect them.
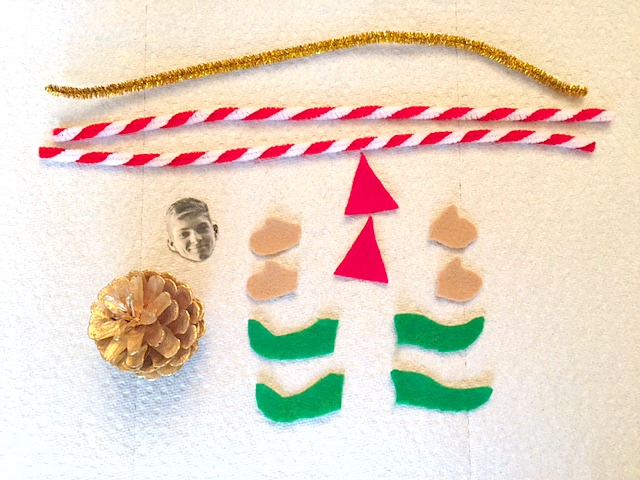
2. Out of your tan craft felt, cut a front and back right hand and then a front and back left hand. Do the same for the feet. Out of your green craft felt, cut a front and back right foot and a front and back left foot. Out of your red felt, cut a front and back hat. To make it easier, I doubled up the felt and cut once for the front a back pieces. Set these to the side.
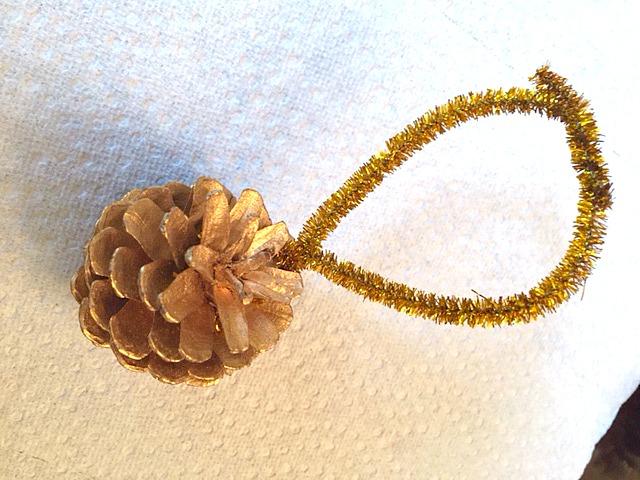
3. Time to start assembling. Start wrapping your gold pipe cleaner around the top of your pine cone once, twist to secure, then wrap the ends together to make a loop. This is your ornament hanger.
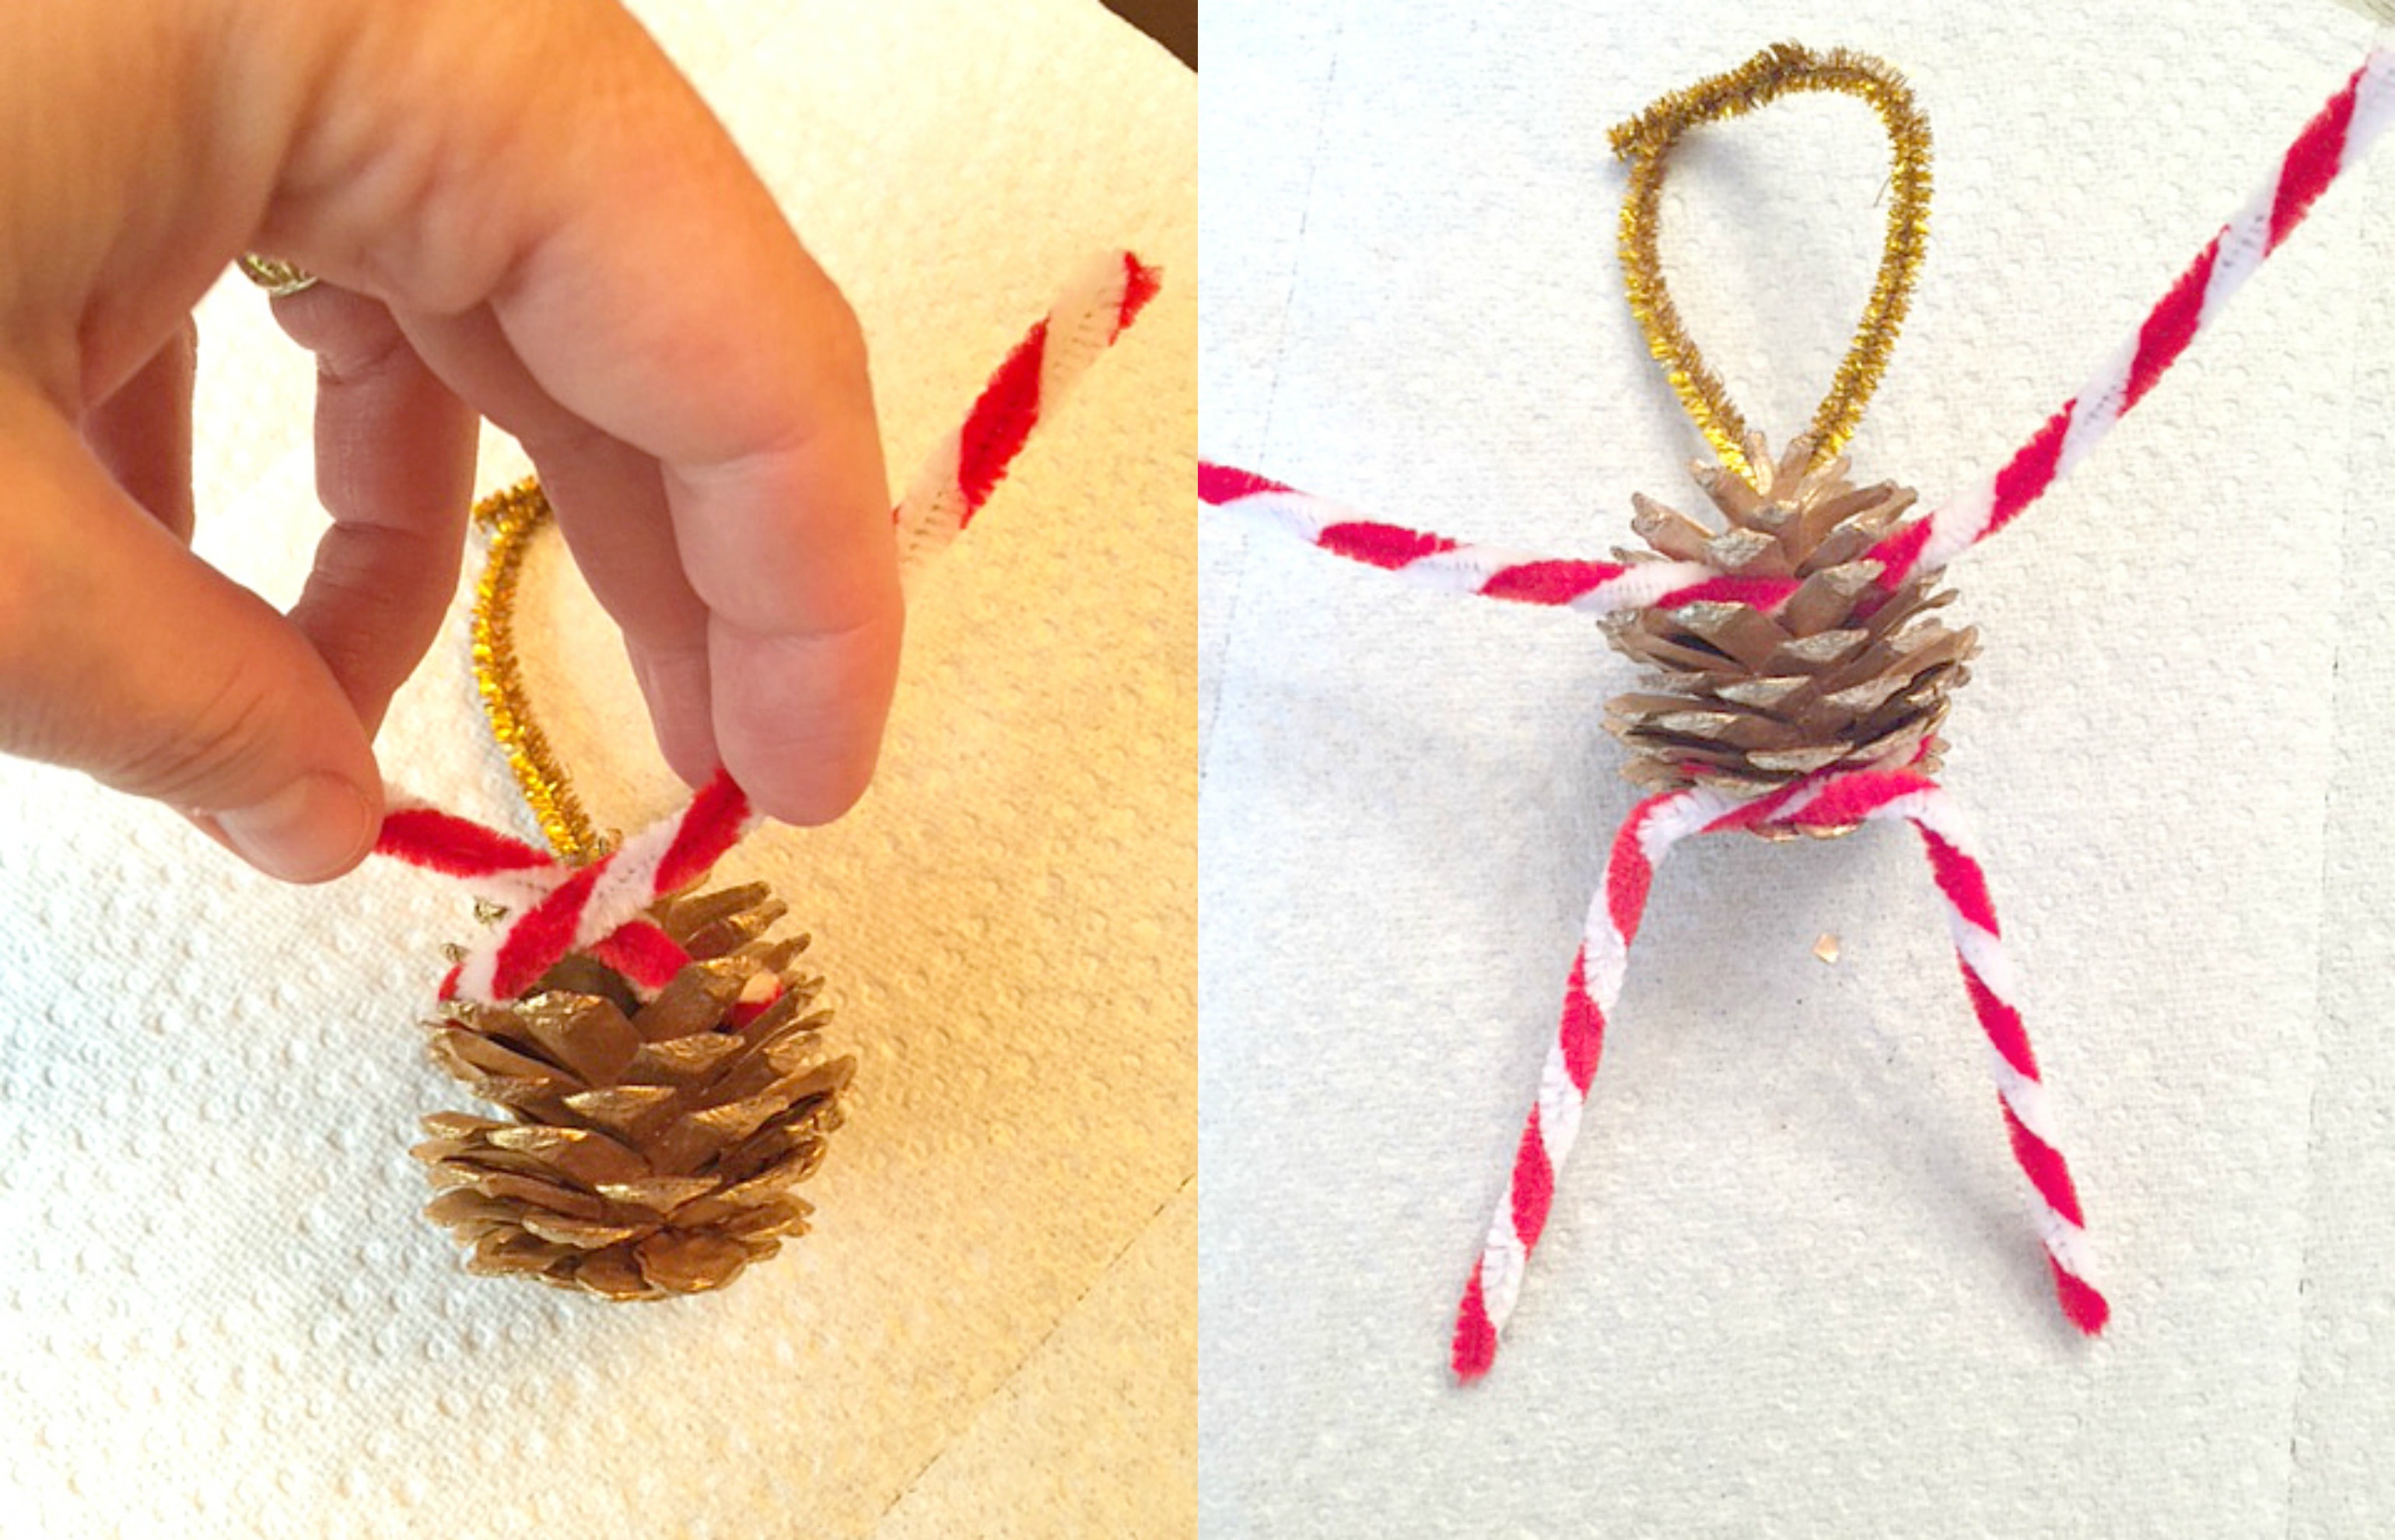
4. Now it’s time to start making your ornament body. Using one pipe cleaner (mine were red and white striped), wrap around the pine cone once, and twist to secure. These are your arms. Now do the same for the legs by wrapping a pipe cleaner around the pine cone and twisting to secure.
5. With your hot glue, start gluing the hands and feet onto the pipe cleaners. Have the front and back pieces sandwich the ends of the pipe cleaner.
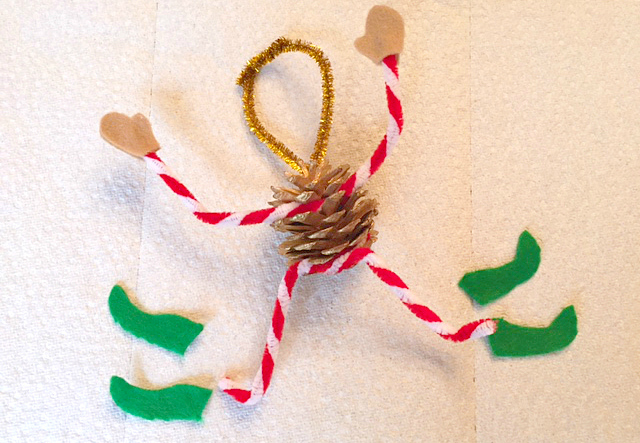
6. Do the same for the hat. Glue your head in between the front and back pieces of the hat.
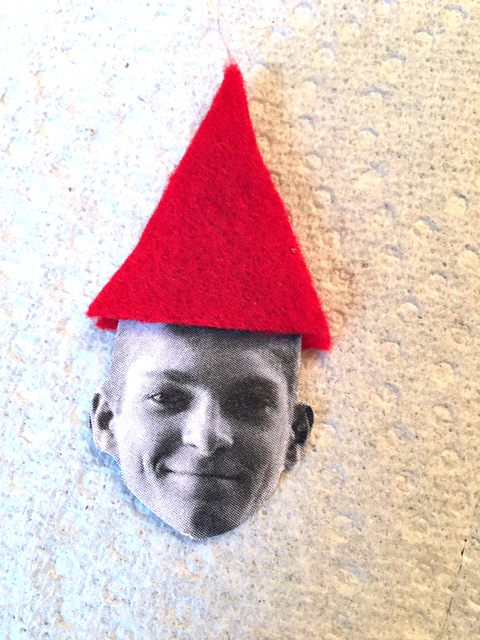
7. Now hot glue your head onto the top of the pine cone. You might have to use a lot of glue to get it to stick.
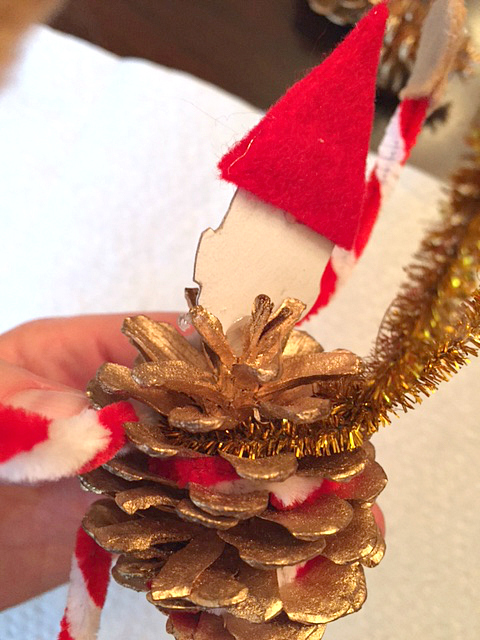
8. You can stop there, or using your glitter fabric paint, add the year to one of the feet and some dots to the hat.
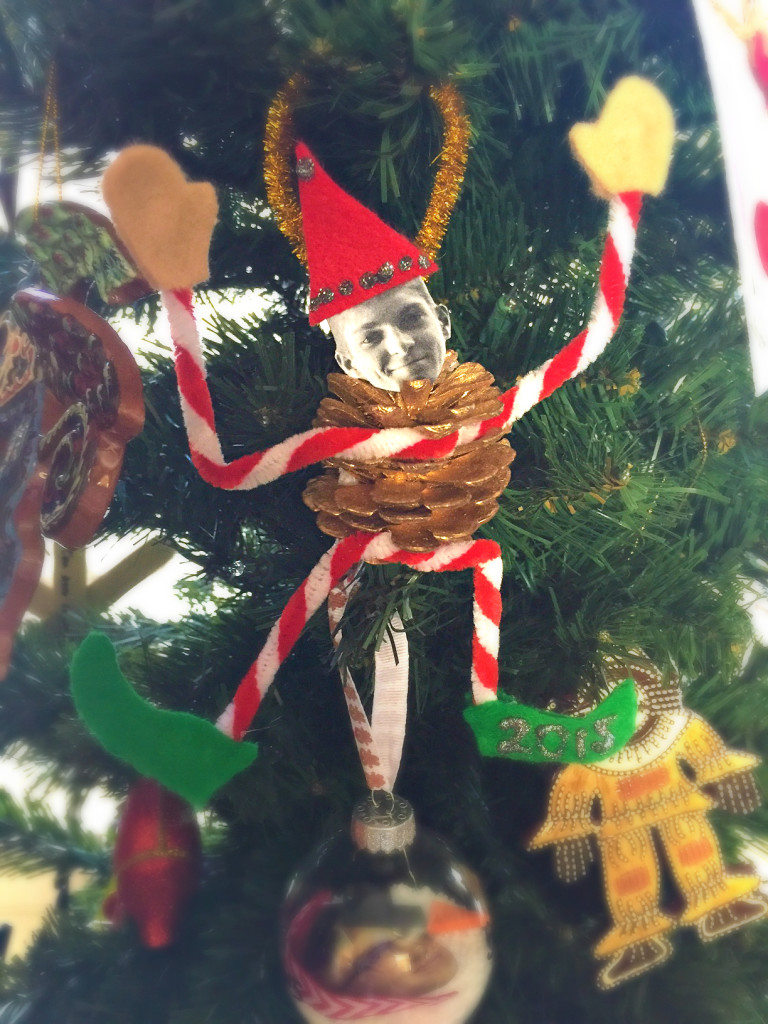
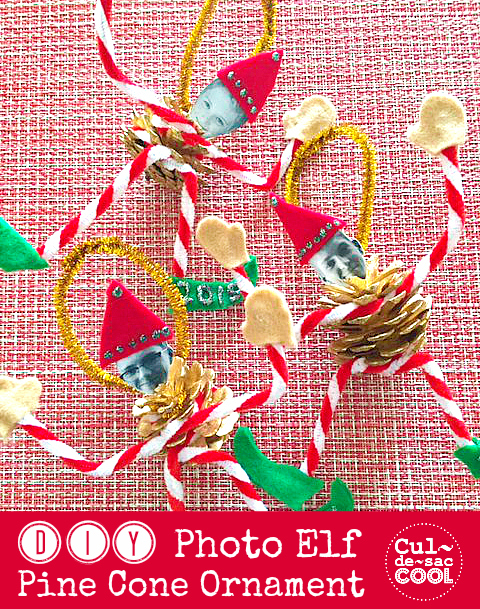
That’s it! My kids loved their ornaments. I thought they turned out super cute and funny. Be sure to check out my other photo ornaments below. Happy Holidays!!

